68sunlitgold
Well-known member
- Joined
- Aug 20, 2002
- Messages
- 1,358
Neil,
as always, a top notch job....looking forward to seeing what the end product looks like. I know it will be fantastic.
Doug
as always, a top notch job....looking forward to seeing what the end product looks like. I know it will be fantastic.
Doug
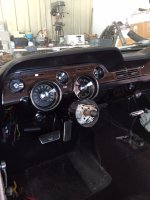
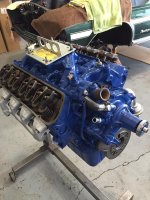
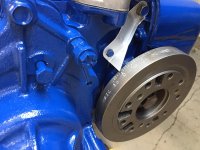
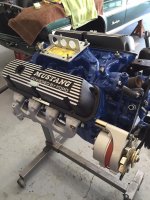
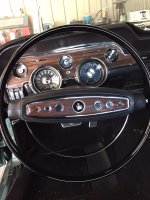
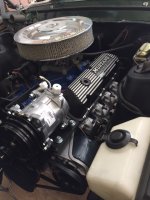
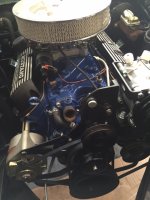
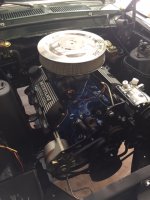
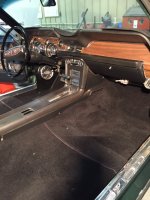
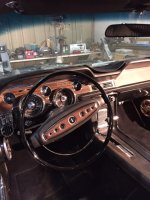
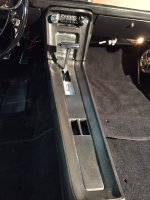
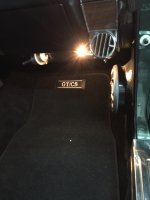
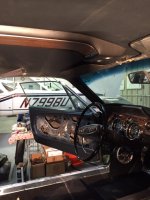
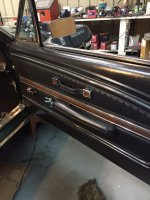
") , under dash A/C components (vacuum motors, ducting, cable). I use a vacuum unit to check each vacuum motor + system. Thanks Marty for the one you sent me- works fine. Carpet & upper console installed. Stripe decals are all done. Seats w/headrests are due back this week. Overhauled 289 will go in this weekend.
, under dash A/C components (vacuum motors, ducting, cable). I use a vacuum unit to check each vacuum motor + system. Thanks Marty for the one you sent me- works fine. Carpet & upper console installed. Stripe decals are all done. Seats w/headrests are due back this week. Overhauled 289 will go in this weekend.