• Welcome to the CaliforniaSpecial.com forums! - You are currently viewing the forums as a GUEST. To take advantage of all our site features, please take a moment to join our community! It's fast, simple and absolutely free.

    If you have problems registering or can't log into your account, please contact Admin.

    Please Note: If you are an existing member and your password no longer works, click here to reset it.

EXP500 Repli-bute...

OP
OP
D

dalorzo_f

Well-known member
Joined
Jan 7, 2006
Messages
1,886
Location
Brisbane Australia
Buy the Branda "best fit" (or other) fiberglass, and then spend weeks making it fit. :wink:

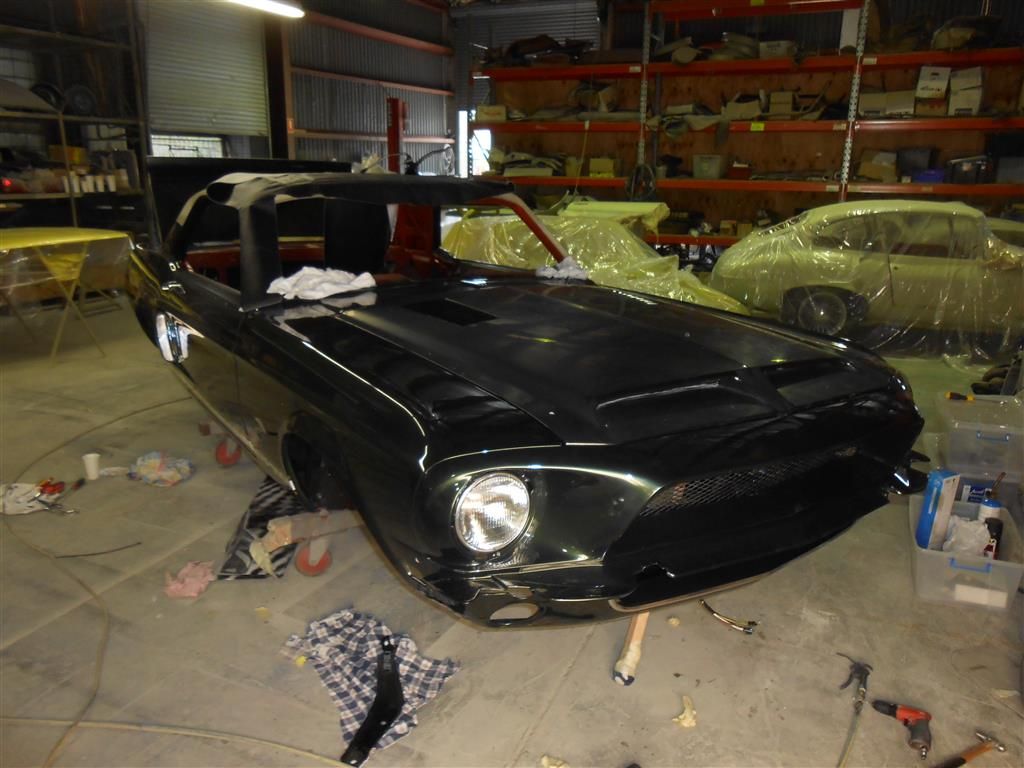
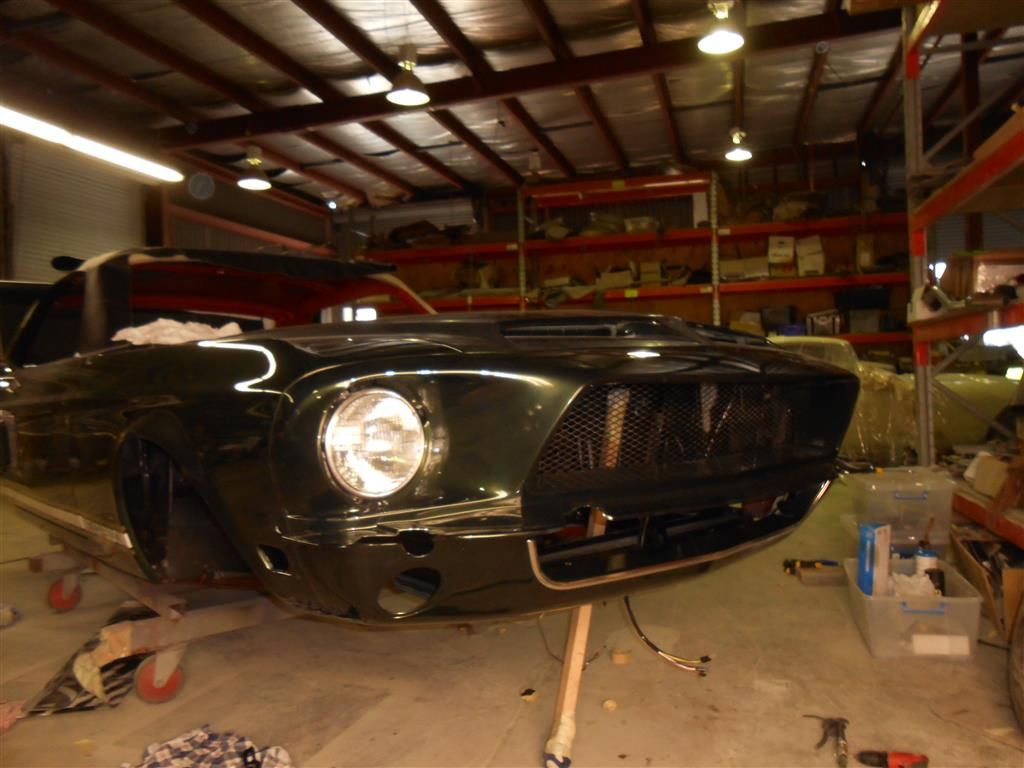
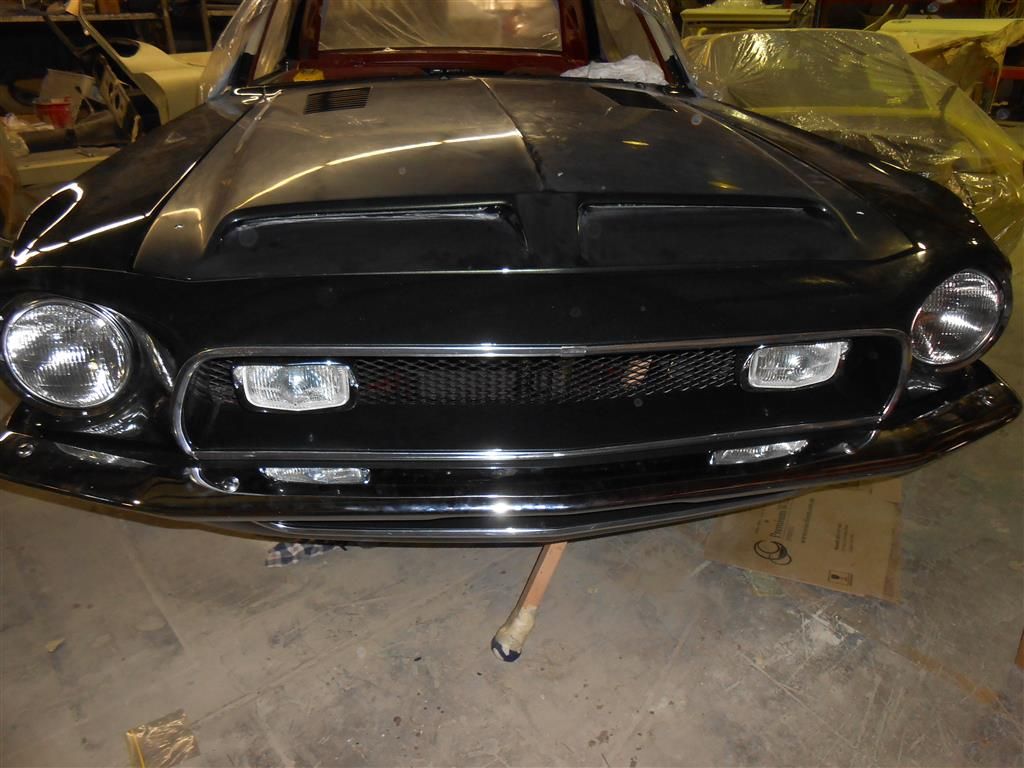
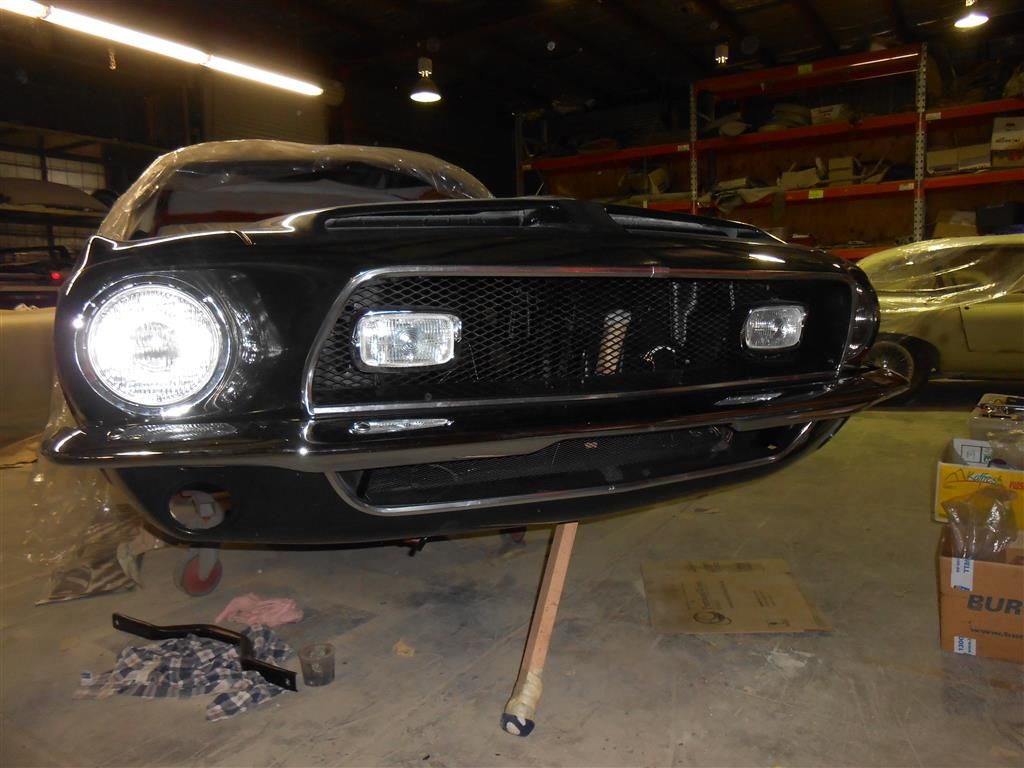
My shop, luckily, just hired a guy recently with a lot of late model fiberglass experience. If you notice mine its bonded to be one seamless nose, not 4 pieces. That was at least two solid weeks of labor. Getting the nose panel, fender extensions and lower valence to align was just about impossible, so to get rid of the visible gaps I decided to make it a one piece. A lot of work, but very happy with the result.

So hood, fender extensions, nose panel and lower valence in fiberglass.

Additional parts will be new bumper arms (extended), headlight retainers (brackets that mount to the fender) and buckets, grille its support brace and brackets, hood locks and retainers (similar to, but not the same, as Shelby), new fog light brackets (I devised a hidden bracket behind the grill that makes the fogs look like they are "floating" in the grille, no pedestals). Ram air plenum and matching air cleaner base are optional (I went with this this option, it stiffens the hood a lot).

Maybe a few other bits I am forgetting, but that's most of it.
 
OP
OP
D

dalorzo_f

Well-known member
Joined
Jan 7, 2006
Messages
1,886
Location
Brisbane Australia
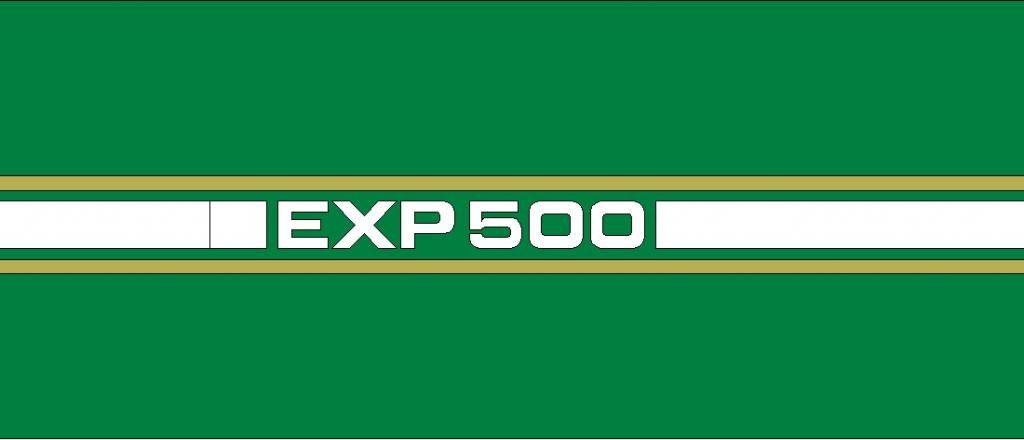
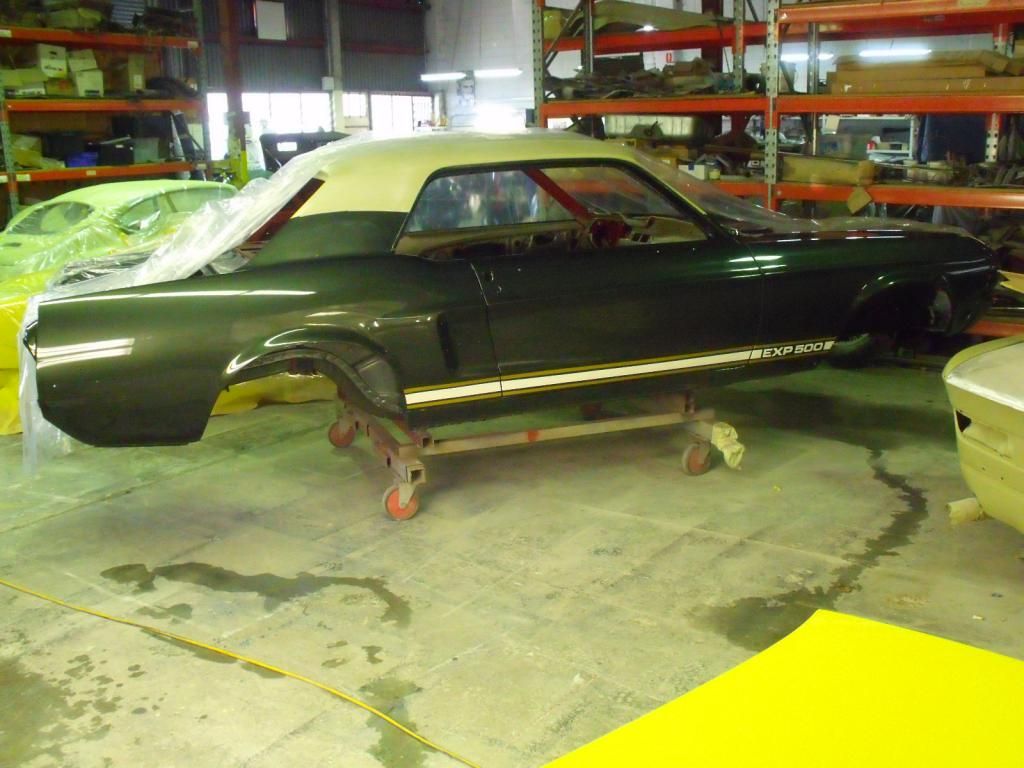
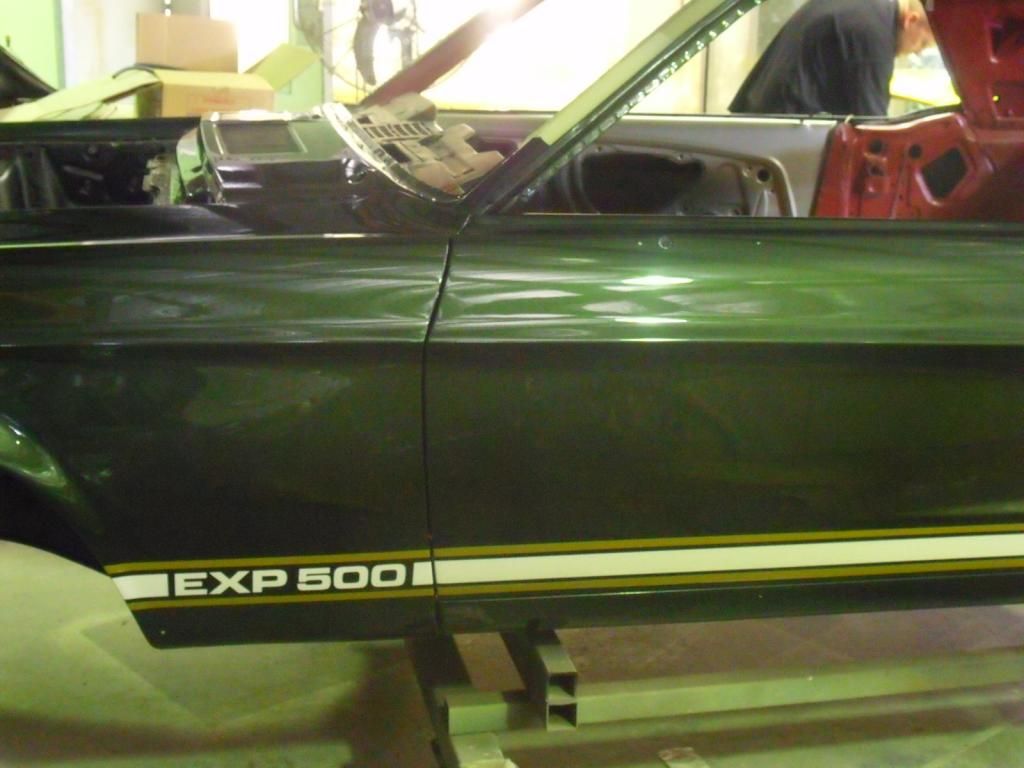
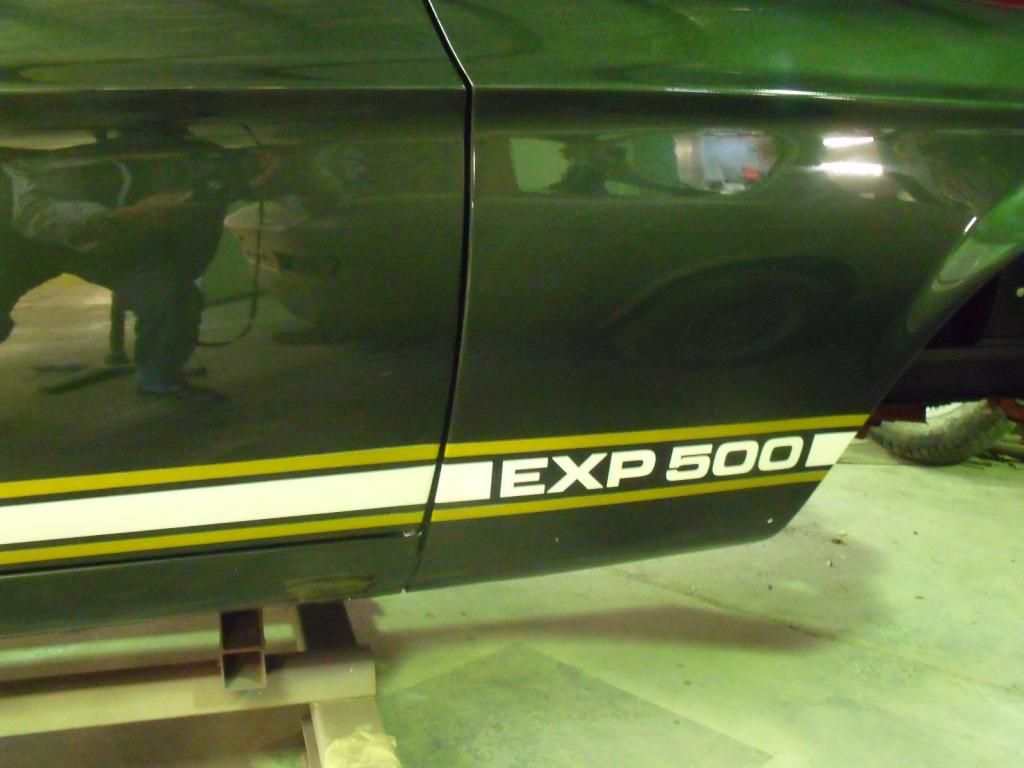
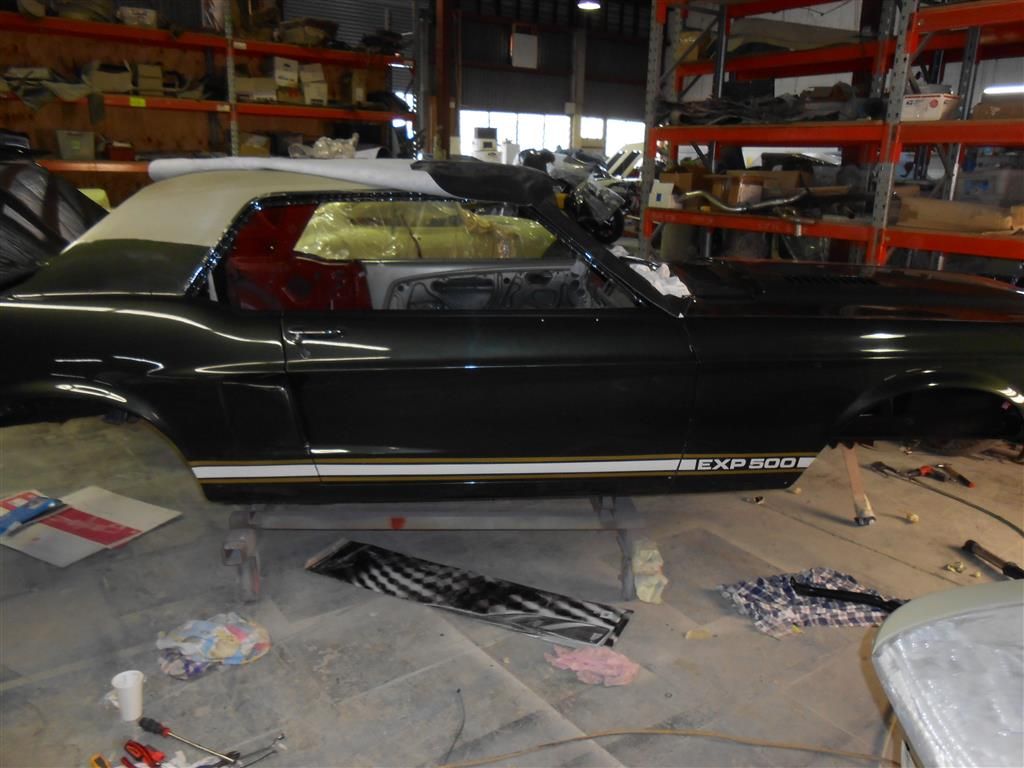
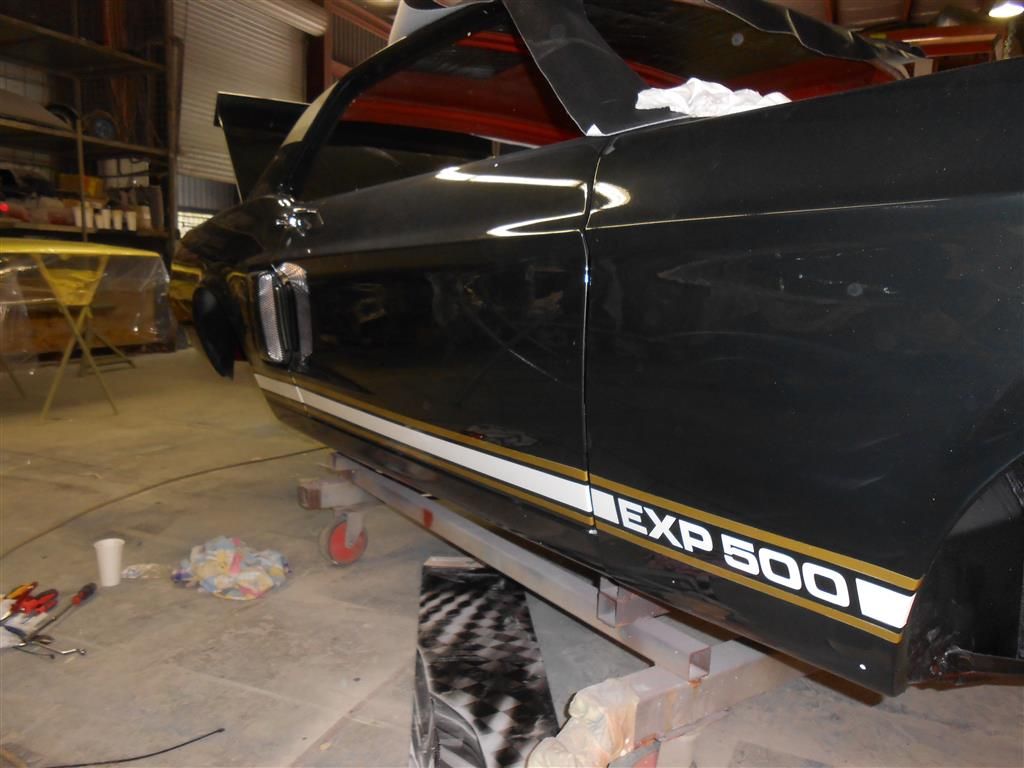
Stencil for the stripes designed and cut and to the shop today.

Once wet sanding and buffing is done the stripes will be painted on to emulate the "old school" style... no clear info on if the original was paint or vinyl, but going with paint as I think Shelby would have probably painted for a one-off... but just a guess.

Will also get stencils cut to paint the two blackouts at the rear of the hood, bought stick ons, but decided to go painted for all of them...

Stripes will be a high metalflake gold and Wimbledon White.

 
OP
OP
D

dalorzo_f

Well-known member
Joined
Jan 7, 2006
Messages
1,886
Location
Brisbane Australia
Latest shots... should start adding the pieces this weekend...

DSCF5482.jpg


DSCF5486.jpg
 
OP
OP
D

dalorzo_f

Well-known member
Joined
Jan 7, 2006
Messages
1,886
Location
Brisbane Australia
Progress... sloowlllyyy.....

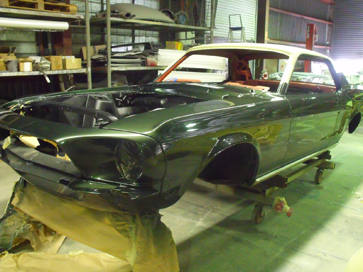
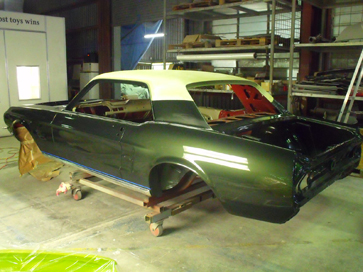
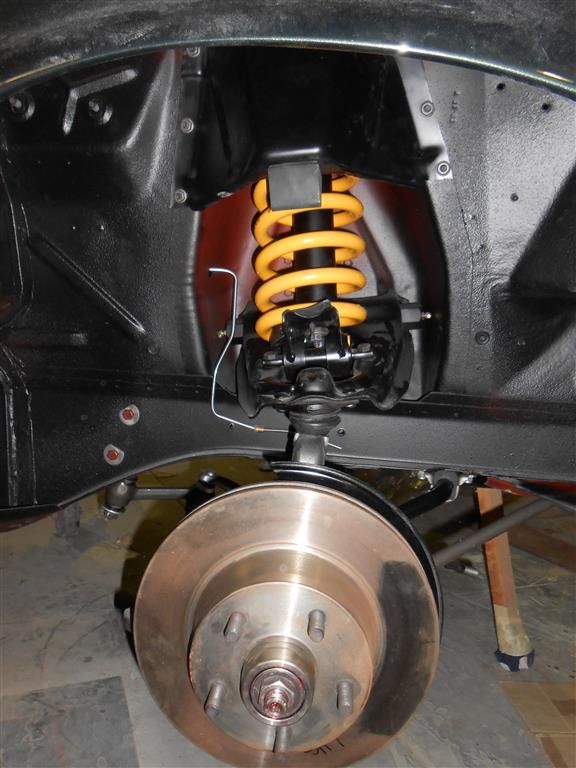
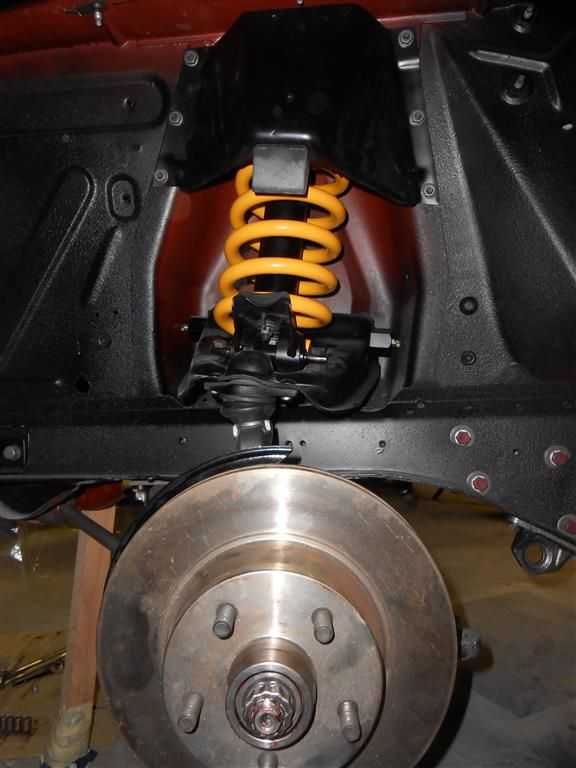
Body panels and scoops on. Fitting grille and trims now. Working on interior (headliner) and vinyl roof next.

Stroker kit (survival motorsports 390 to 445 "Prison break" kit) and cam kit (Comp cams XE274H) arrived, dropping them off at the engine builder tomorrow so hopefully an engine to detail and drop in in 4-6 weeks.


All the rear fiberglass (Branda used) and blockout plates (thanks Mike!!!) are OEM GTCS/Shelby... front OEM is staggeringly hard to find and $$$$$super expensive....


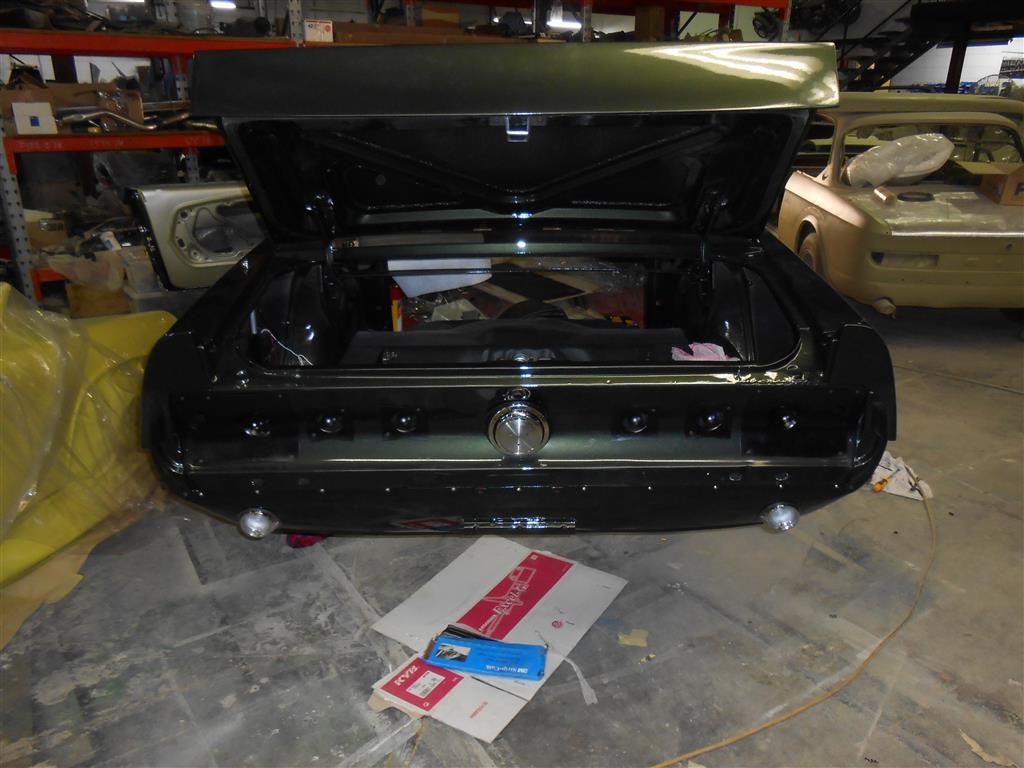
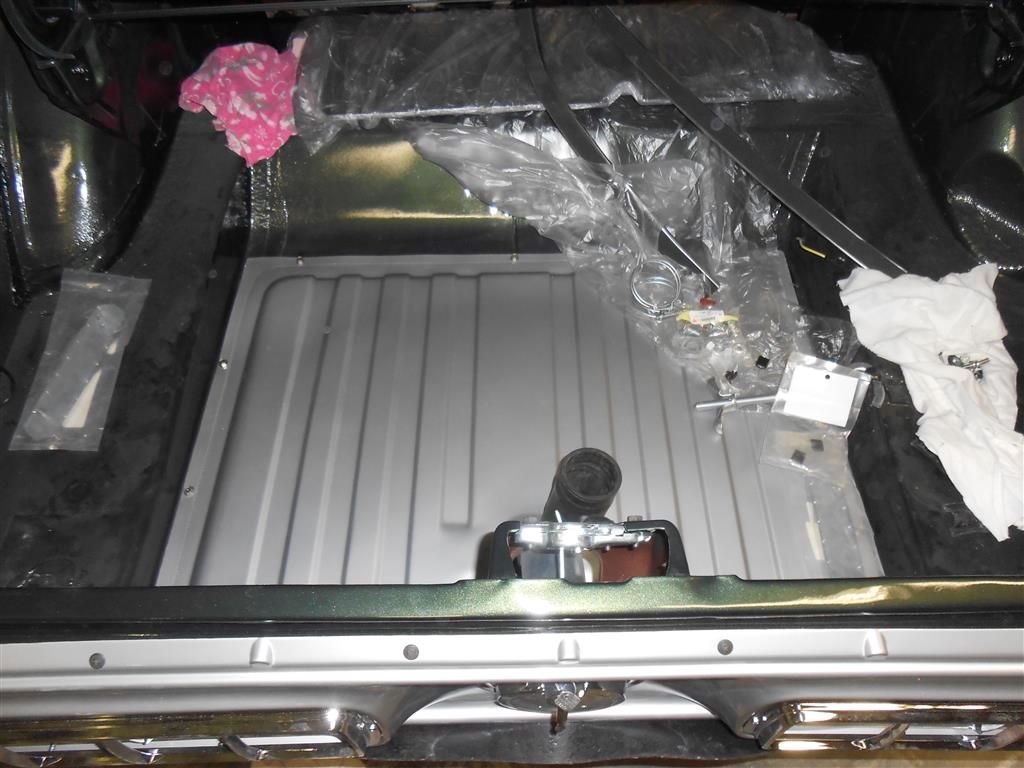
Waiting on some plating to get the tail panel on (filler tube).
 

TraveledGTCS

Well-known member
Joined
Nov 24, 2004
Messages
177
Looks like one needs a refill on the coffee - or what ever. It's really looking great, I bet you are getting anxious wanting to get it together and on the road.

Wish I was in Australia to get a first hand look at it. (When I was in 'Nam, I was going to go there for R&R, but it hadn't opened yet - 66-67 time frame.)
Bill
 
OP
OP
D

dalorzo_f

Well-known member
Joined
Jan 7, 2006
Messages
1,886
Location
Brisbane Australia
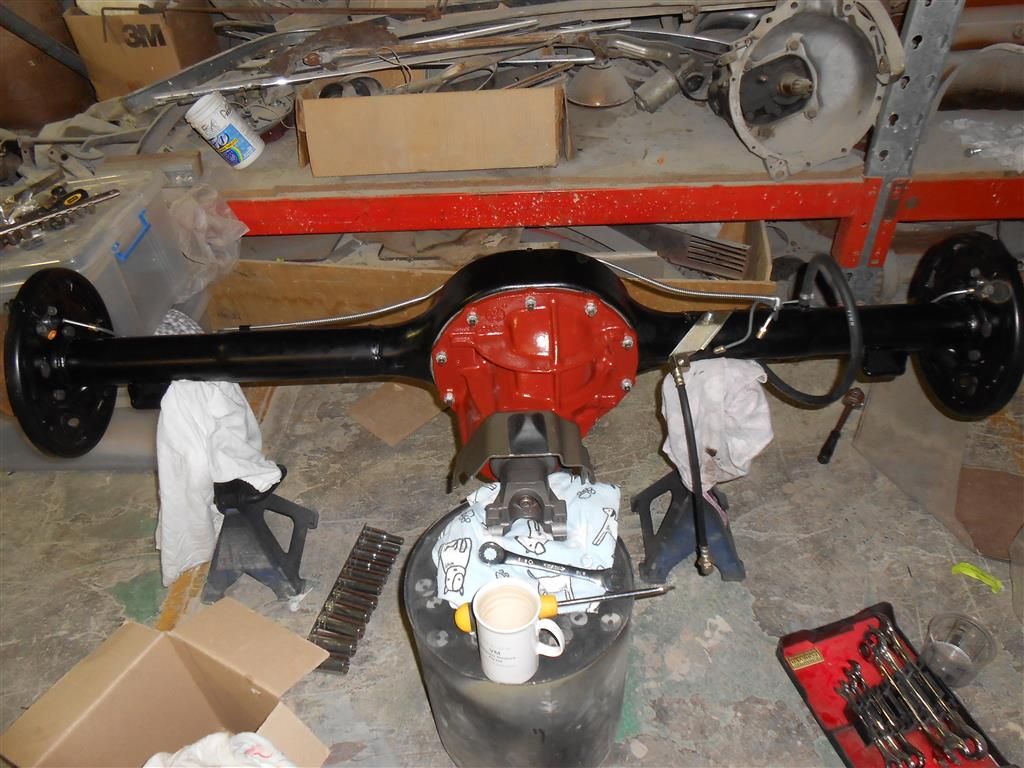
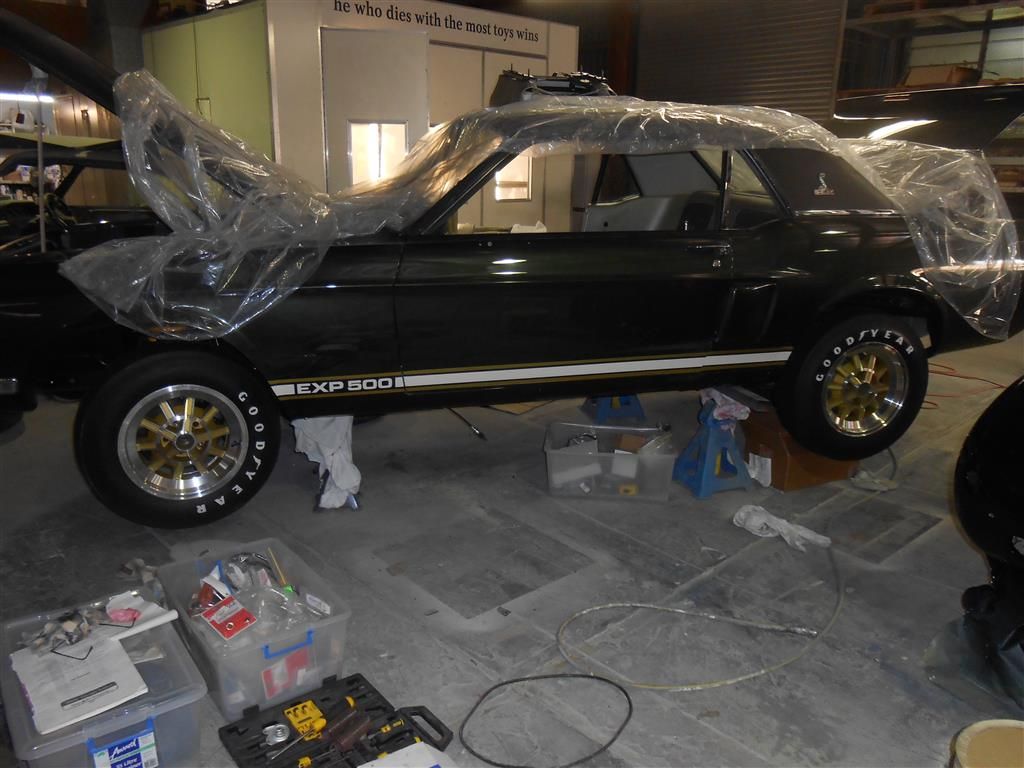
Making a bit more progress...

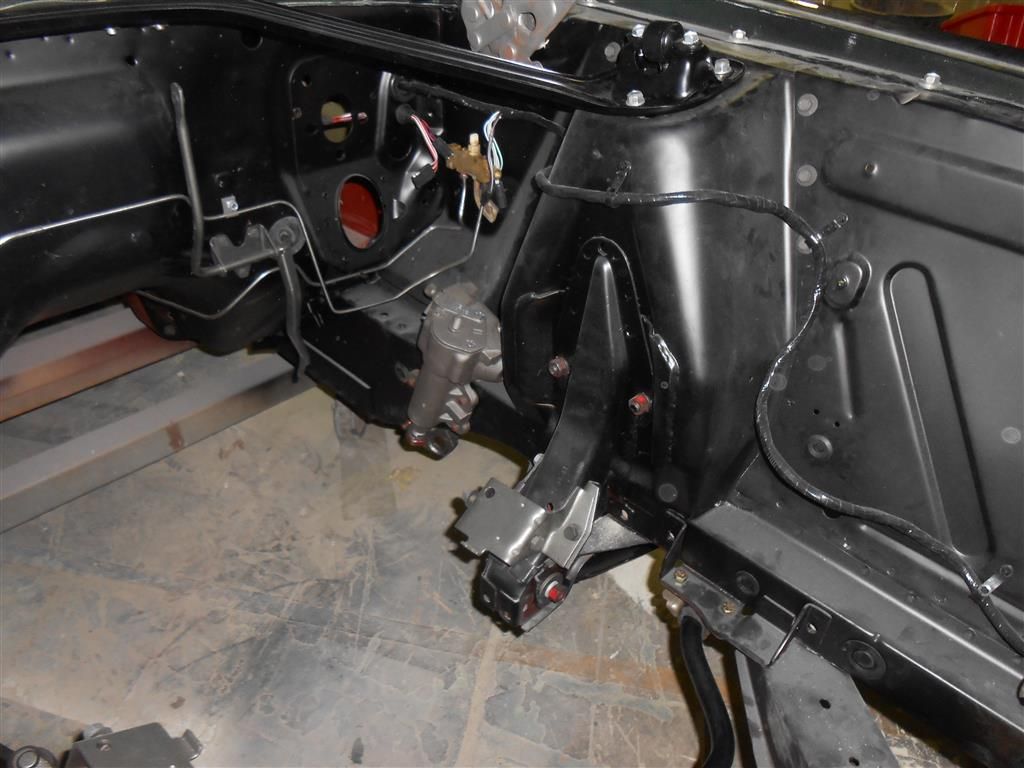
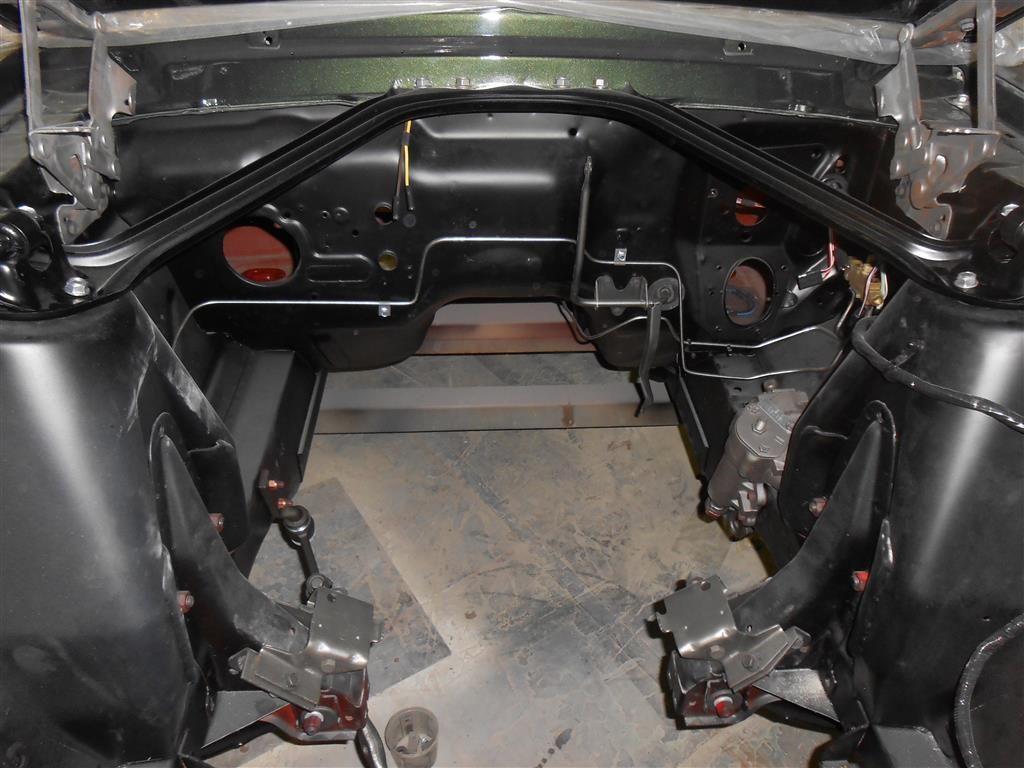
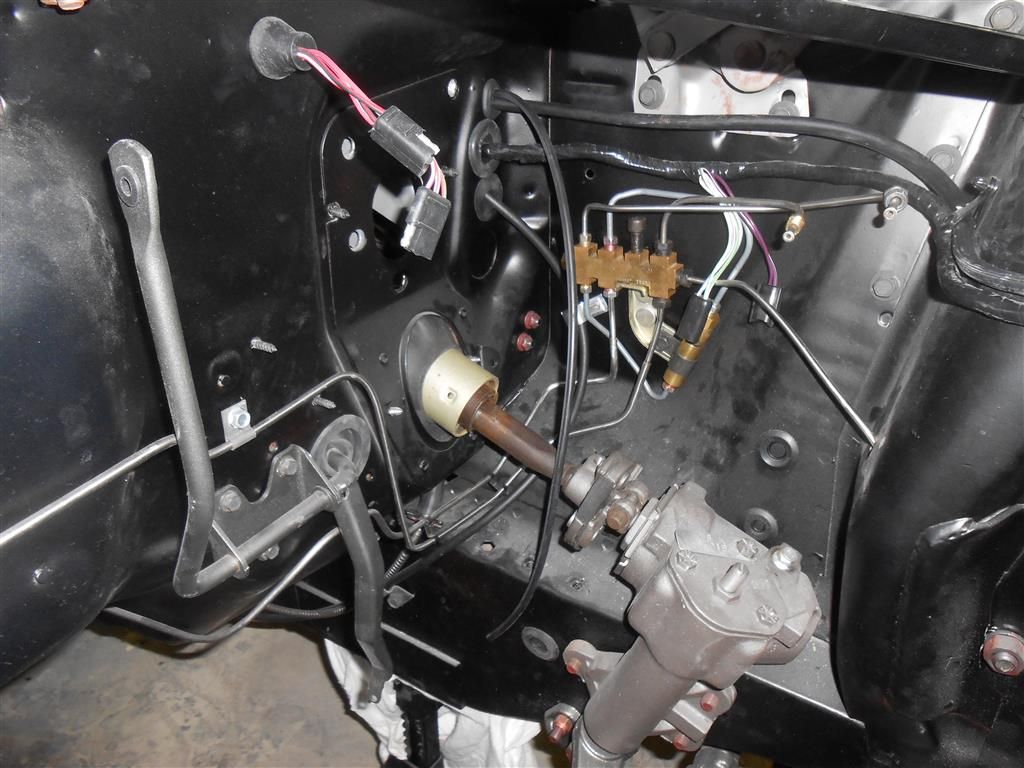
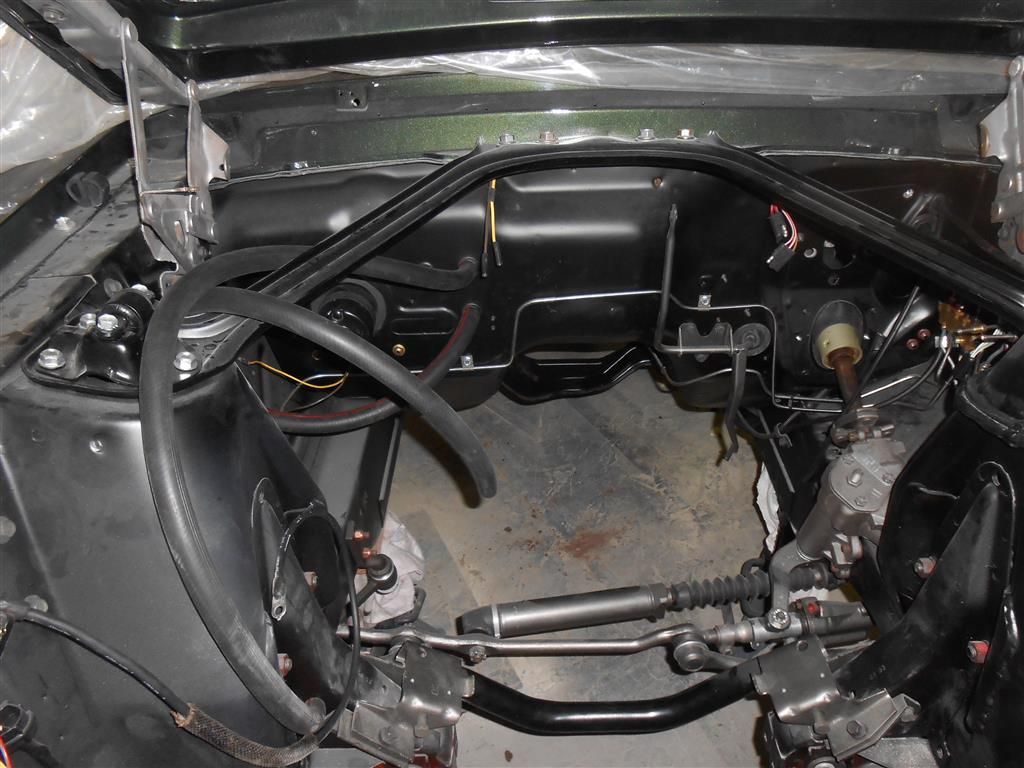
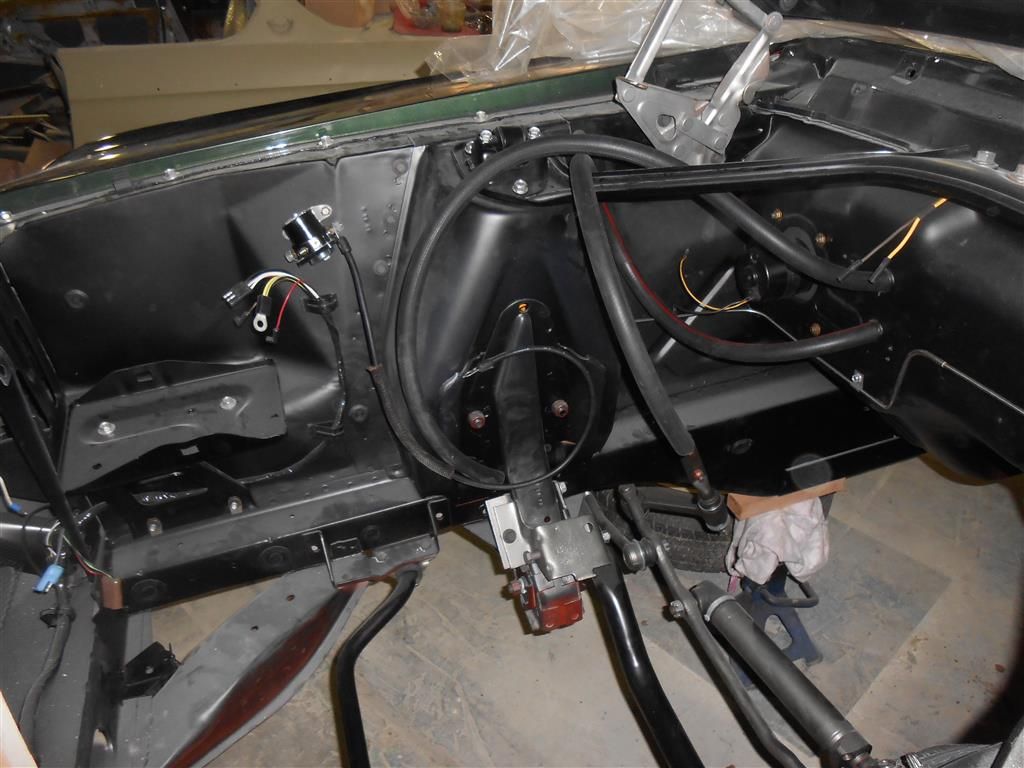
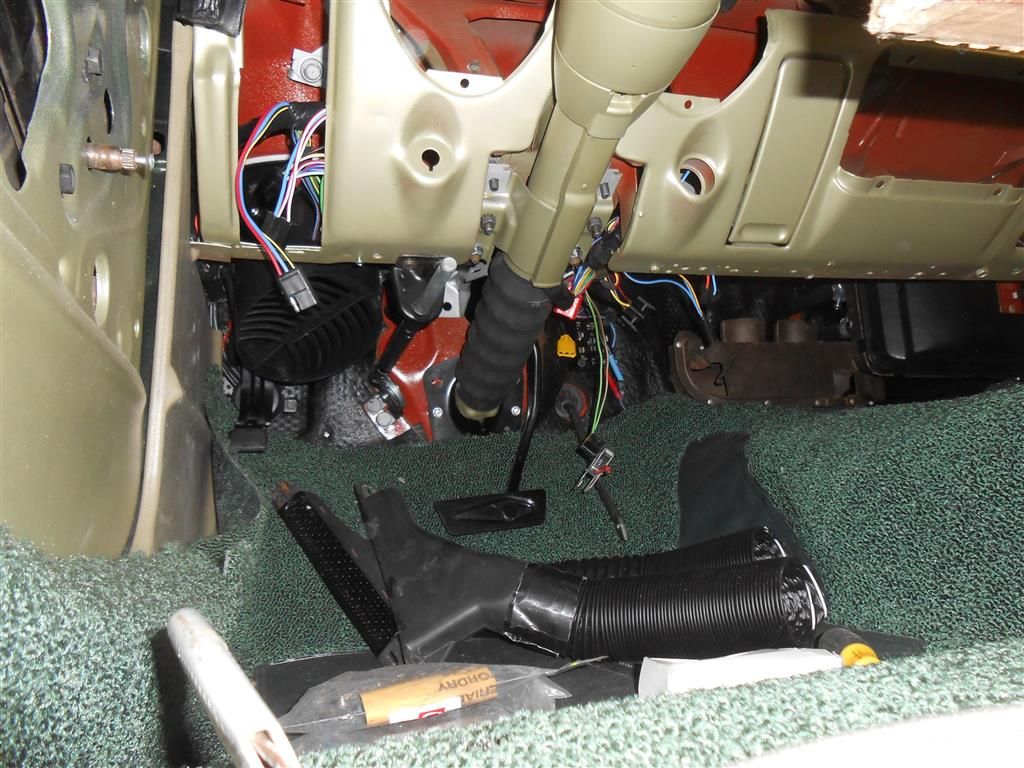
Engine Bay about ready to drop in the filler piece;


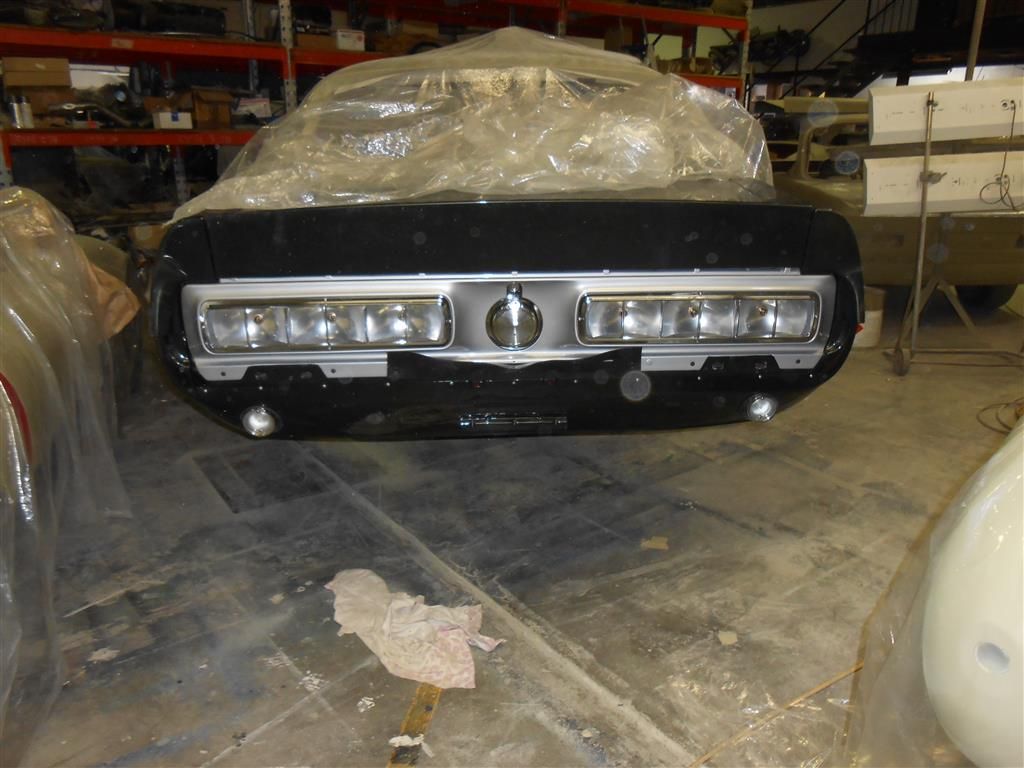
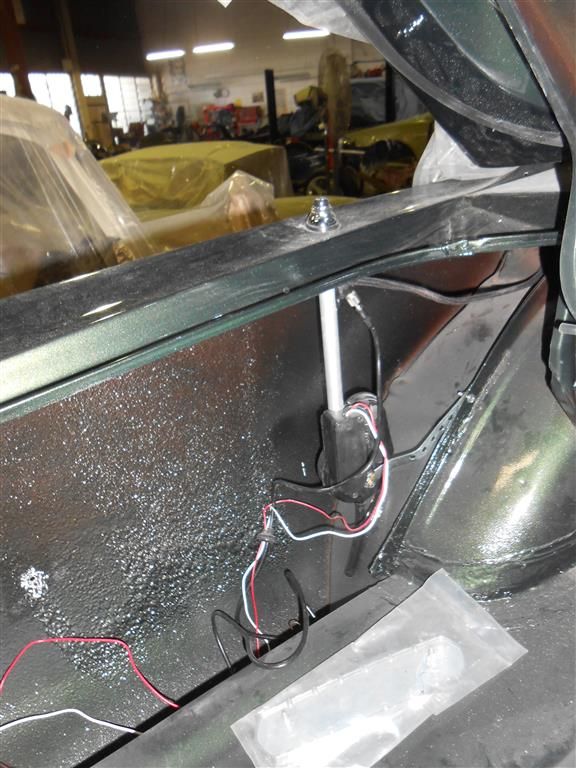
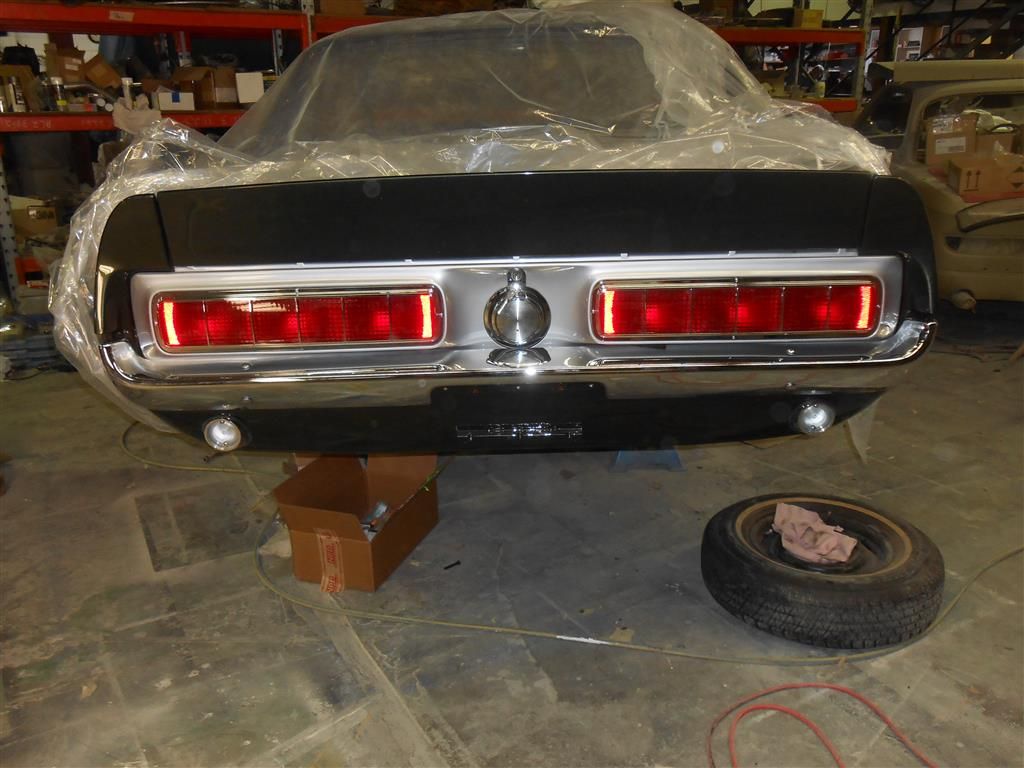
Tail panel and rear almost done (gas cap stick on badge, rear window trim)


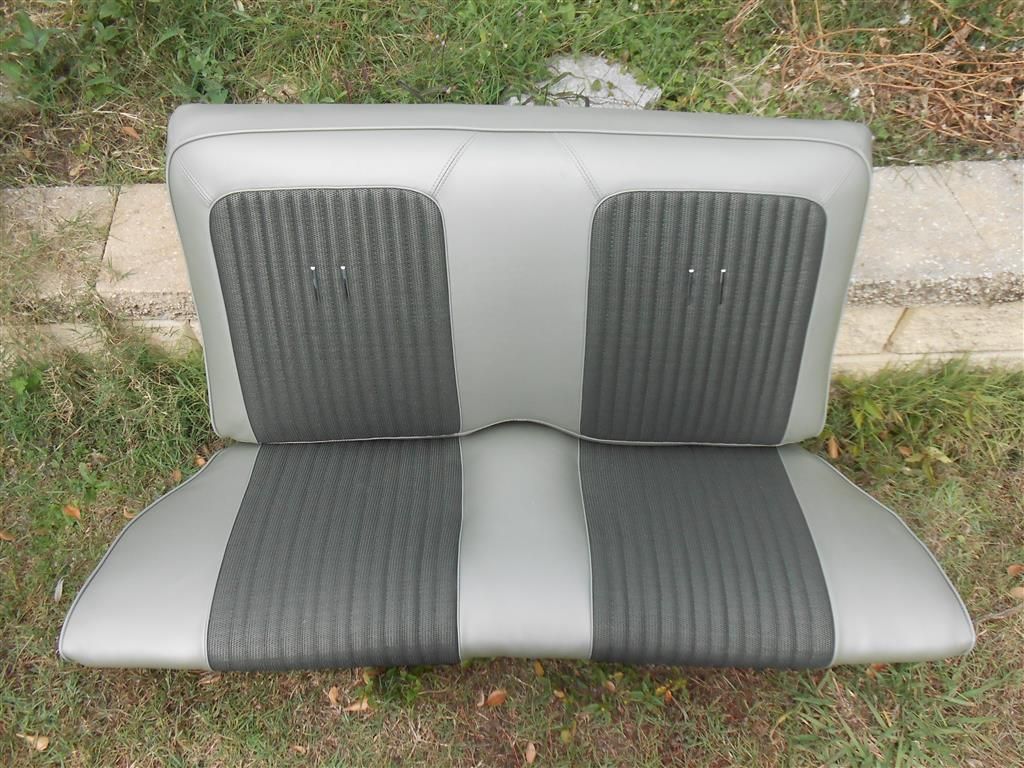
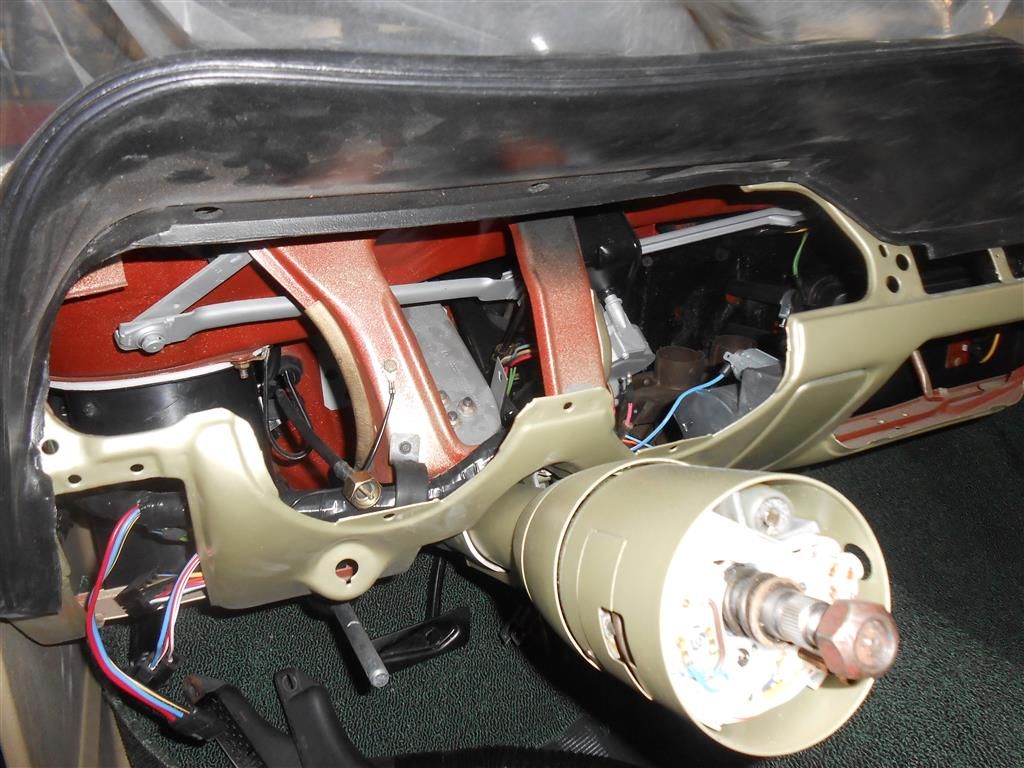
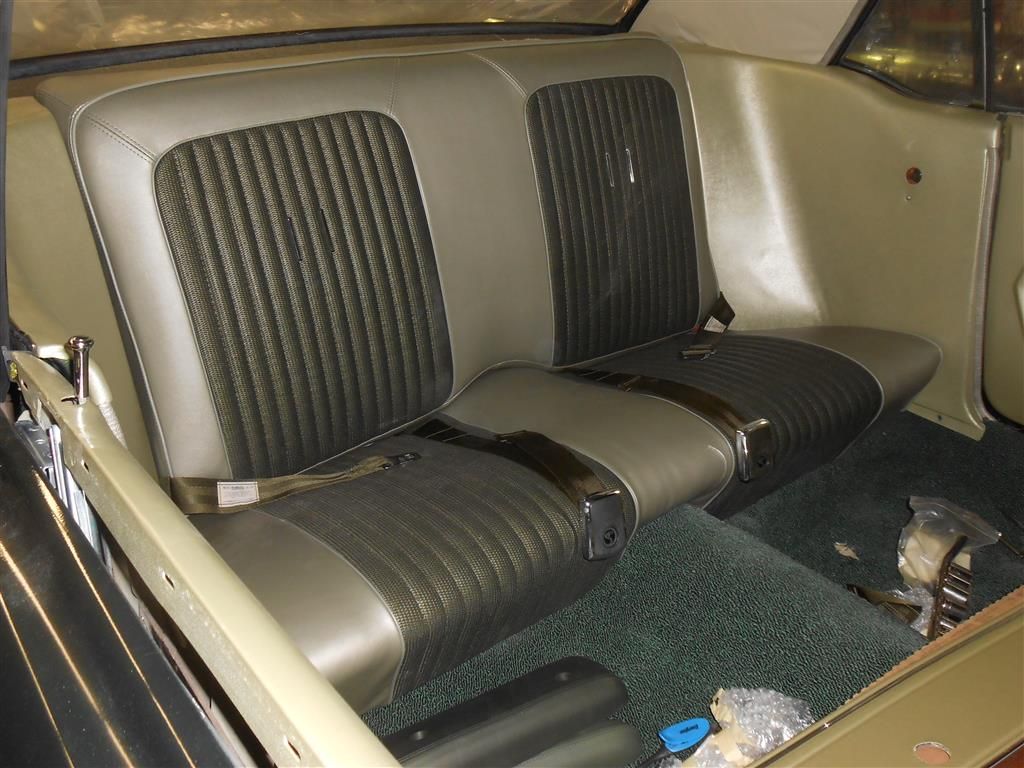
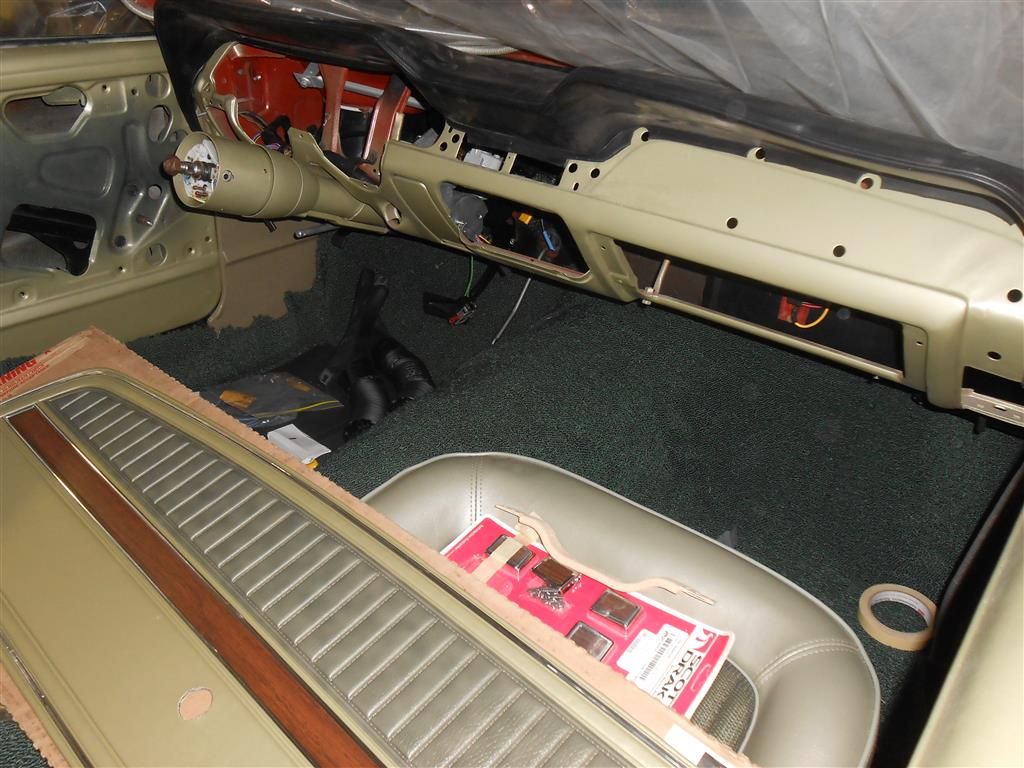
Interior coming together


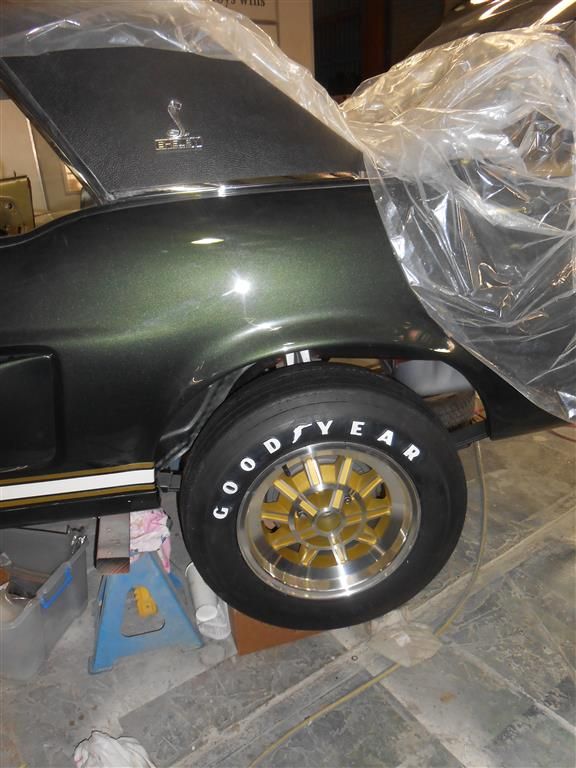
And, finally, the wheels went on today, still need center caps and proper lug nuts...


Maybe a light at the end of the tunnel... or a train coming!
 

Ruppstang

Well-known member
Joined
May 22, 2009
Messages
3,080
Richard it is really going to be a beautiful car. Fun to drive goes with out saying. Keep up the good work.
Marty
 

robert campbell

Well-known member
Joined
Apr 10, 2007
Messages
4,322
Richard,
I car this cool needs the proper hook under the hood.

This would look great!!


Or imagine a set of these powder coated in highland green!!!


Rob
 
OP
OP
D

dalorzo_f

Well-known member
Joined
Jan 7, 2006
Messages
1,886
Location
Brisbane Australia
Thanks for the comments.

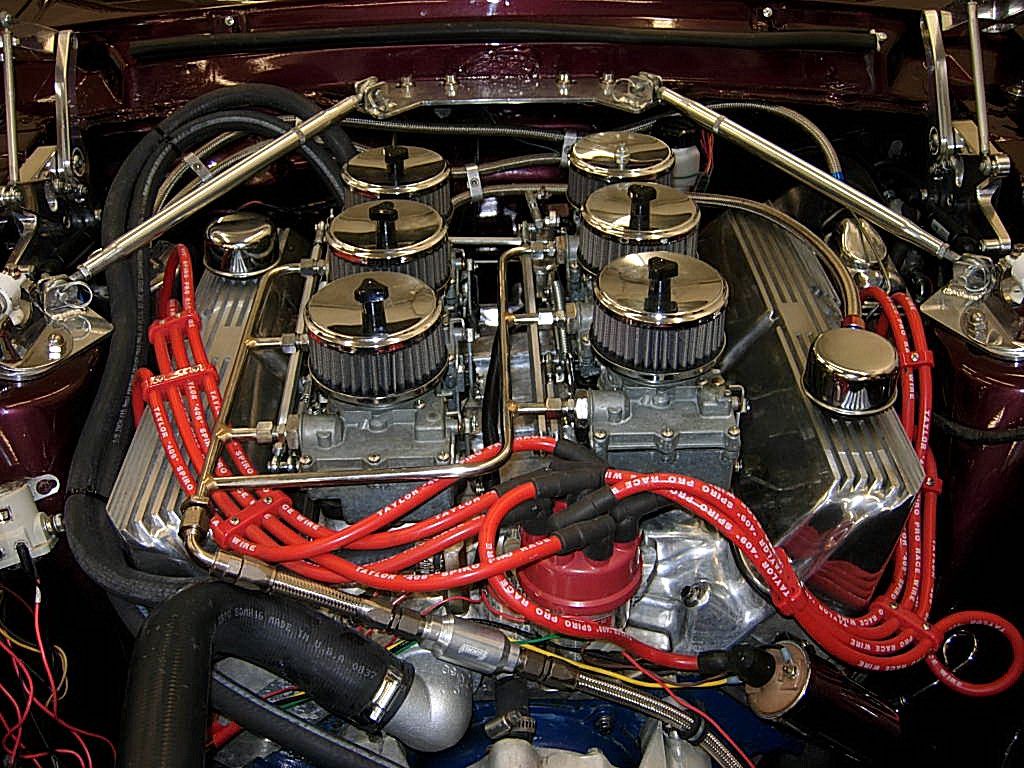
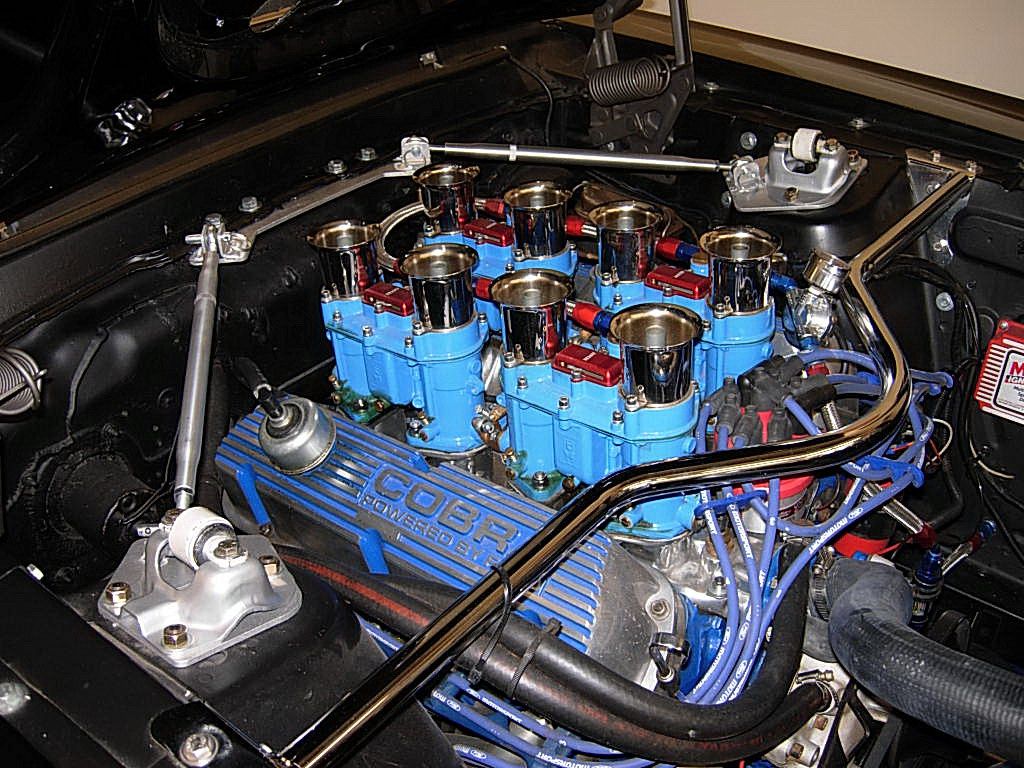
I have a dual quad setup I was going to use, but went for a OEM Ram Air setup on a 428PI as the plenum is under the hood.... it will be a stroked 390 (445) with 428CJ exhaust and the PI/w ram air and finned Cobra valve covers.. so should look somewhat like a 428 to most.
 

DAR1

Well-known member
Joined
Dec 1, 2003
Messages
53
Location
Stockholm
Hi Richard- your Green Hornet looks fantastic! In 2004 I decided to build a tribute to one of the coupes after much soul searching I decided on Little Red, after seeing your car I am thinking again...My car was finished in 2009 and I shipped it over to Sweden where I live. Full respect for the fitting of the fiberglass on your Hornet. I don't think many people know how much work goes into fitting this fiberglass. You see the parts in a catalogue and assume it is pretty much plug'nplay - nothing could be farther from the truth! From the studs that hold it on to non-existant cutouts for adjusting the headlights. I hope you post pictures of the finished car - i love the color. I was really excited that Paul Newitt used some pictures of mine to show what Little Red might have looked like in color in his last book.
 
OP
OP
D

dalorzo_f

Well-known member
Joined
Jan 7, 2006
Messages
1,886
Location
Brisbane Australia
Thanks very much for the compliment. :smile:

Yes, I have to smile every time someone on a forum posts about "bad" fiberglass. They have obviously never seen OEM, or realize how bad the fit and finish of these cars really was in comparison to the bolt-it-on-to-show-car-fit-ready-for-paint many expect.

The nose pieces were all bonded to remove seams, as they just would not line up. I would guess the body guy took almost two weeks of work to get that together. Panels, bumper bars, headlights, fenders all in the 3d jigsaw puzzle.

Need to have it on a truck to transport to a show in 19 days!!!
 

DAR1

Well-known member
Joined
Dec 1, 2003
Messages
53
Location
Stockholm
Hi Richard,
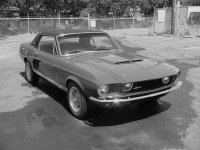
Here is a picture of mine in black and white like all of the original pictures...
I can't wait to see your when it is finished.
BR/Dan
 

Attachments

  • lrbwh.jpg
    lrbwh.jpg
    220.3 KB · Views: 43
Top