- Joined
- Aug 18, 2002
- Messages
- 2,078
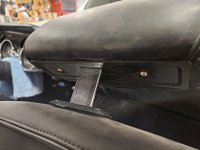
I just wanted to share some progress photos of recovering my seats this weekend. I'm using 1968 upholstery, but 1969 seat frames to get the factory headrests.
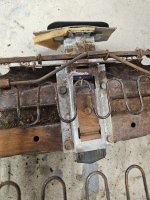
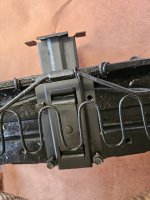
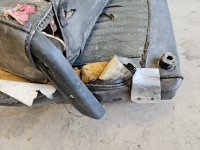
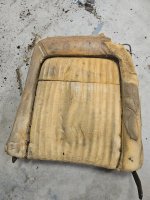
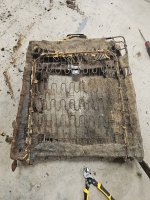
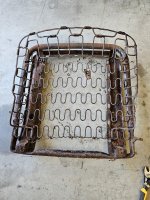
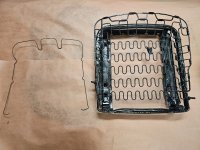
Original 1969 seats. These were pretty rough with quite a bit of rust on the frame. So I stripped them down, shot them with some rust converter, then semi-gloss black paint.
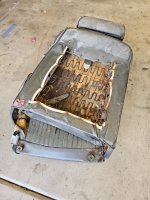
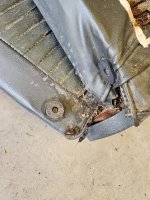
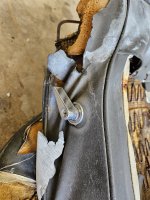
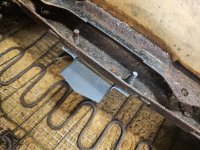
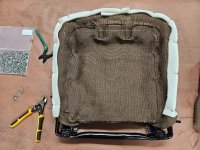
I bought some burlap and heavy backed foam at my local hobby store and attached via the listing wires and hog rings.
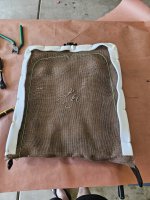
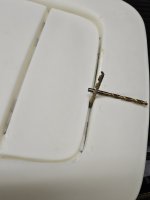
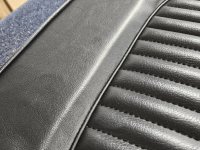
I used new seat foam buns with listing wires molded in, ordered from CJ Pony Parts (brand name "Dashes Direct"). I wasn't very impressed with the foam. The shape at the creases is a hard 90 deg bend, not a nice rounded corner. So it shows as a very distinct line once the upholstery is on. Below shows the crease in the foam that I'm talking about, at the top of the seat back. Drill bits added just to show how the foam has a very hard angle. 2nd photo is what this looks like when the upholstery is pulled tight. It's a very noticeable line. I had to pull the cover back off again and cut/sand/reshape the foam to get a nice rounded transition.
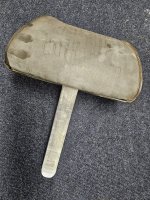
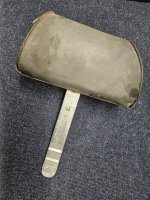
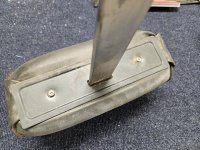
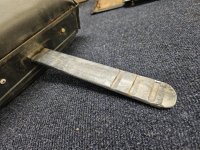
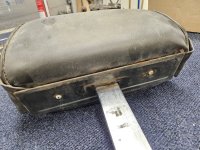
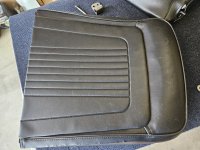
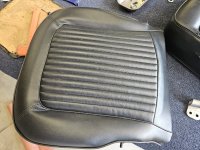
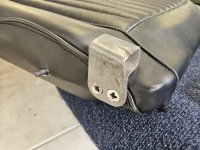
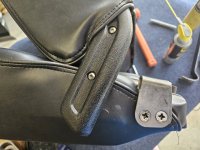
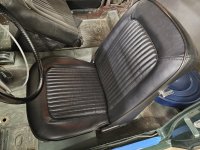
And here are the reassembly photos. The headrest isn't in yet because I need to get it recovered separately. I couldn't find a place to order just the headrest vinyl.
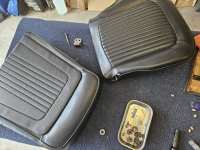
Original 1969 seats. These were pretty rough with quite a bit of rust on the frame. So I stripped them down, shot them with some rust converter, then semi-gloss black paint.


I bought some burlap and heavy backed foam at my local hobby store and attached via the listing wires and hog rings.


I used new seat foam buns with listing wires molded in, ordered from CJ Pony Parts (brand name "Dashes Direct"). I wasn't very impressed with the foam. The shape at the creases is a hard 90 deg bend, not a nice rounded corner. So it shows as a very distinct line once the upholstery is on. Below shows the crease in the foam that I'm talking about, at the top of the seat back. Drill bits added just to show how the foam has a very hard angle. 2nd photo is what this looks like when the upholstery is pulled tight. It's a very noticeable line. I had to pull the cover back off again and cut/sand/reshape the foam to get a nice rounded transition.


And here are the reassembly photos. The headrest isn't in yet because I need to get it recovered separately. I couldn't find a place to order just the headrest vinyl.


Last edited:

